Wednesday, July 4, 2012

WOYWW # 161

Greetings!

I've been absent for a long time; sold our house -- read packed up 3,000 square feet; went on vacation -- planned before we actually sold the house -- and are building a new house. Plus, oh yeah, and that whole work for a living thing. So alas, no time for crafting.

A couple of days ago we were out at the building site, and I thought I could at least check in with the AMAZING Julia Dunnitt and her Whats On Your Work Desk Wednesday blog posts. I no longer have a work desk in the "old house" since everything is packed (movers come tomorrow). BUT and here's the really exciting thing, the new house has a new craft room. And this is the view.


Try to ignore the spare wood pile (saving for the fire pit, but not very organized as you can see). But I think I'm really going to enjoy the view.  I'll have to plant some pretty flowers or shrubs in the view shed....

Happy 4th of July to the Americans in the group.

And thanks Julia for the rockin' ATC and THE PIN. Love the PIN!! 

Thursday, May 10, 2012

CC2 - #4 - Graduation Time

I've missed the past couple challenges that Linda Ledbetter has sent out into blog land for the Compendium of Curiosities 2 Challenge, but not this week!! For new folks, this is all about Tim Holtz and his amazing teaching book, Compendium of Curiosities #2 which you can purchase here. This week it was about faded layers which he describes on page 43.

After seeing Linda's piece, a big ole' light bulb went off in my head about using die cuts with mask material. So I set out to make a very sweet girl a graduation card.


I started with a piece of manilla paper cover stock and applied Evergreen Bough, Shabby Shutters, and Peeled Paint distress inks to the bottom portion of the paper. On the top I used the new Shaded Lilac, Spun Sugar, Stormy Sky, Broken China, and Tumbled Glass distress inks....very lightly. Next I used the tall grass embossing folder on the bottom of the piece. I laid down my new mask of the branch tree and mostly used the same colors on top of the mask to get a nice blend and a faded picture of the tree. I was careful to avoid the bottom of the tree and used a little sponge finger dauber to color the top of the grass. Next I put some picket fences on one Tim's stamps from the Floral Tattoo collection for a bit of extra interest on the background.

Then came the fun part!!


I used the Tattered Floral Garland die cut and cut out a bunch of the smallest leaves and flowers. I'm really into beads lately, so with my trusty Scotch adhesive in hand, I glued down beads for the flower centers.

I used one of Tim's new kilt pins to attach a heart, a muse token which says Knowledge, and a Dream charm. They seemed like a good combination for someone headed off to Arizona next year for college.


Finally I used one of Wendy Vecchi's stamps for the sentiment. Now I all I have to do is write the inside and slip her a few bucks!! Tis the season.

Tuesday, May 8, 2012

WOYWW # 153

This is technically my third post in the same 24 hour period, and ironically enough, a 24 hour period where I spent zero time in the Fun Room. Still fighting the shingles and now a cold on top of it, and after a year of trying to sell our house, we got a great offer today, so we spent part of the afternoon at the real estate agents, and the rest of the day wondering where we might be living at the end of June. Hmmm.

So I scurried upstairs and snapped a photo, because for sure this is what it will look like tomorrow. What is tomorrow? Why it's What's On Your Workdesk Wednesday #153, Julia Dunnitt's brain child that let's us take a  peak into every one's lives once a week. I'm kinda addicted I have to say.


On the right side is my Martha Stewart score-it...a fabulous little item. I could never use those little score-its-always having to chop off part of it for some reason. On top is a layout idea from Graphic 45 which I will probably never make; but as I was making Mother's Day cards with Graphic 45 papers yesterday it seems appropriate. There's a new package of baby wipes front and center....can't run out of those. The black paper in the upper left is what I use for most of the backgrounds for my photos. The tray in front has the supplies for one of my newest idea...paper beads which I've been covering with wire and beads.  Here's an example of a few of them.


Below are the beads which have been cut from the 48 marbled distress stain tags I made one morning. What a gas that was...I found the more I made the more things I tried - lots of fun!! I cut the tags into long, skinny triangles (no measuring, just eye-balling) and wrap them around a round toothpick and then give them a coat of Diamond Glaze or two to beef them up. I've been busy looking for pretty wire - but managed to get some that is a bit too thick...thinner is definitely better for this project.

And beads...love beads. Beads come in such luscious colors. Mmmm, just yummy. I've found it's a good TV project and I can be with the rest of the crew and still be doing something creative (hence the tray). The Styrofoam ball holds the toothpicks while the glaze is drying.


Pretty much sums it up for me this Wednesday eve....here's hoping you all have a great week!

I Made a Book!

I have always loved books, and have wanted to explore making them for a long time. I finally did it. Not quite what I would have imagined - ever - but I learned a lot, and had fun in the bargain, so it's all good.

One day while poking around Dina Wakley's blog, I came upon an on-line class called, 21 Secrets, An Art Journal On-line Playground from Dirty Footprint Studios. Since I seem to be the last person to jump on the art journal wagon I signed right up. From a list of 25 artists and projects I selected  Dale Anne Potter's Personal Acts of Kindness to start; it intrigued me exactly because we got to make a book.

In deference to Dale Anne, I'll just tell you the concept was to make seven postcards (think master board), each with a special word. We write the postcards to ourselves, citing reasons why we think the word applies to us. Once we get the post cards back, we tuck them away in their own little envelopes inside our little book, which then becomes a pick-me-up for those not so good days in the future when we might not be feeling our very best.

Here's some of the stuff I learned: 
  • toilet paper and multi medium are pretty cool when mixed together (aka the heart on the front)
  • less is more (still)
  • waxed bead thread is probably not the thing to use for binding
  • choosing things based solely on whether YOU like them is very freeing, not to mention fun
  • paper beads are really fun, albeit a bit time consuming to make
  • multi medium is an amazing product (just ordered a gallon of the stuff!)
Here's a tour of my project.

Front Cover 

  Fun with beads

 Back Cover....Multi-medium on Kraft Paper and Adirondack ink on top...feels like rubber. Way cool. 
 My postcards. I used chalk for the color; to tie them all together I used the same color chalk on the little Tim Holtz stamp: Art is a shadow of what a person is thinking.

My inside envelopes - some of the bits and bobs from my table found a home


Have a serious thing for tickets right now....

The inside back cover...a collage in progress

It was a great project...looking forward to diving into the next section of 21 Secrets!! 
 

Happy Mother's Day with Domestic Goddesses

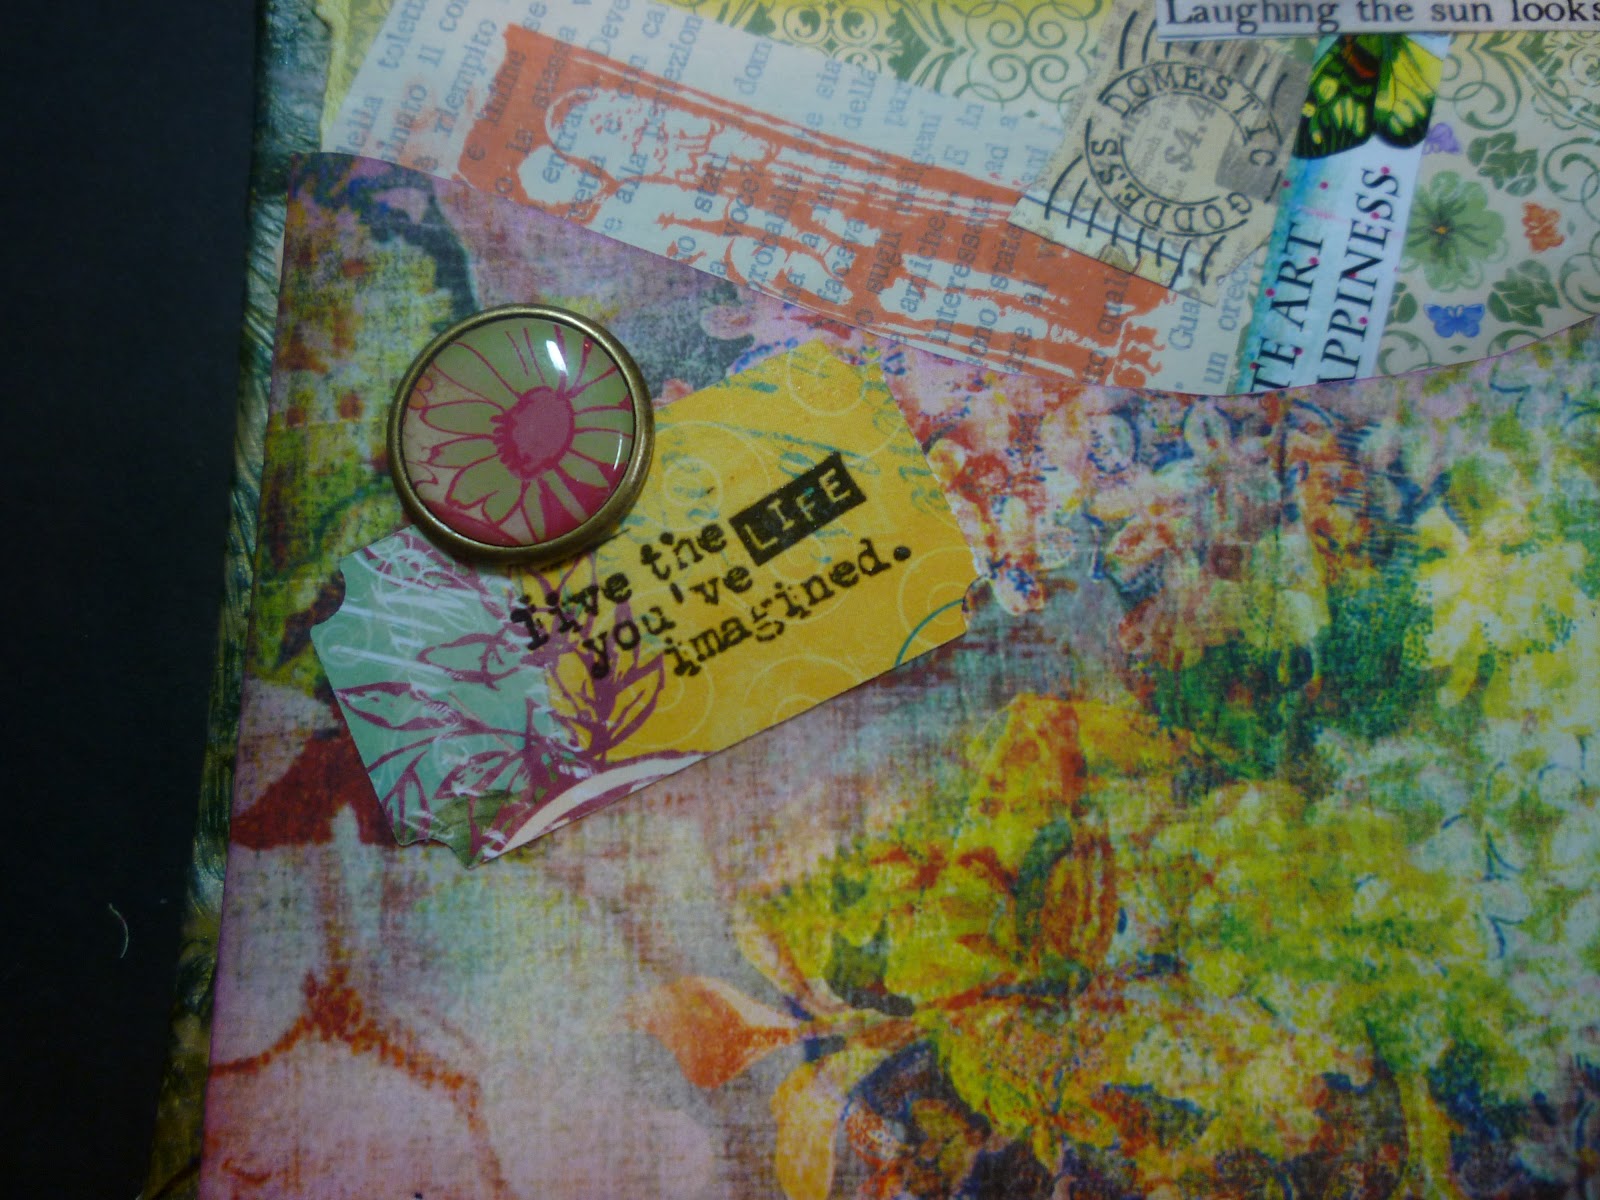
I mean, who wouldn't want to be a Goddess, domestic or otherwise? I love the Domestic Goddess line of paper from Graphic 45, but am afraid it's a bit difficult to find these days. It's so tongue in check, that I thought it would be perfect for Mother's Day cards for my sisters and my Mom. All the cards are very straight forward. A bit of dimension and mix and match the papers up and I was pretty much done.


 This last one was for my Mom - she gets the trophy....as she's been at it the longest!!


 These cards were made so much easier by the addition of the chipboard cut in exactly the right shape for all the Graphic 45 tags. You can find it at Leaky Shed Studio. I was really impressed with how right on the size was; I didn't have to make any adjustments, and the dimension the chipboard added was fabulous.

I used the same paper, along with with Dreamer Paper from 7 Dots Studio and some chipboard letters to make a cover for my recipe book. I'm always clipping recipes out of magazines, and if I try it, and we like it, it gets put into a sheet protector and into the BIG BOOK of recipes...one of the kids named it years ago, and the name has stuck around.


Happy Mother's Day to all the Domestic Goddesses out there in Blog-land!